Accidents can happen to anyone at any time, but reports of how one occurred, can differ considerably.
In addition to following the normal process of collecting information, taking pictures also comes in handy; after all, pictures say a thousand words. That said, it is important to keep in mind that the purpose of taking pictures at an accident site is for photographic evidence and notto show off the gory nature of the accident.
Here are a few tips on the types of pictures you should ideally take at the scene of an accident.
- “Set the stage: Before you begin clicking away at the accident damaged cars, you need to “set the stage” of the accident. This allows you to “bring the accident site to the insurer” for the obvious reason that those people were not present when the accident took place. Taking pictures which allow them to be present at the scene allows them to get a better understanding of what happened moments before the collision.
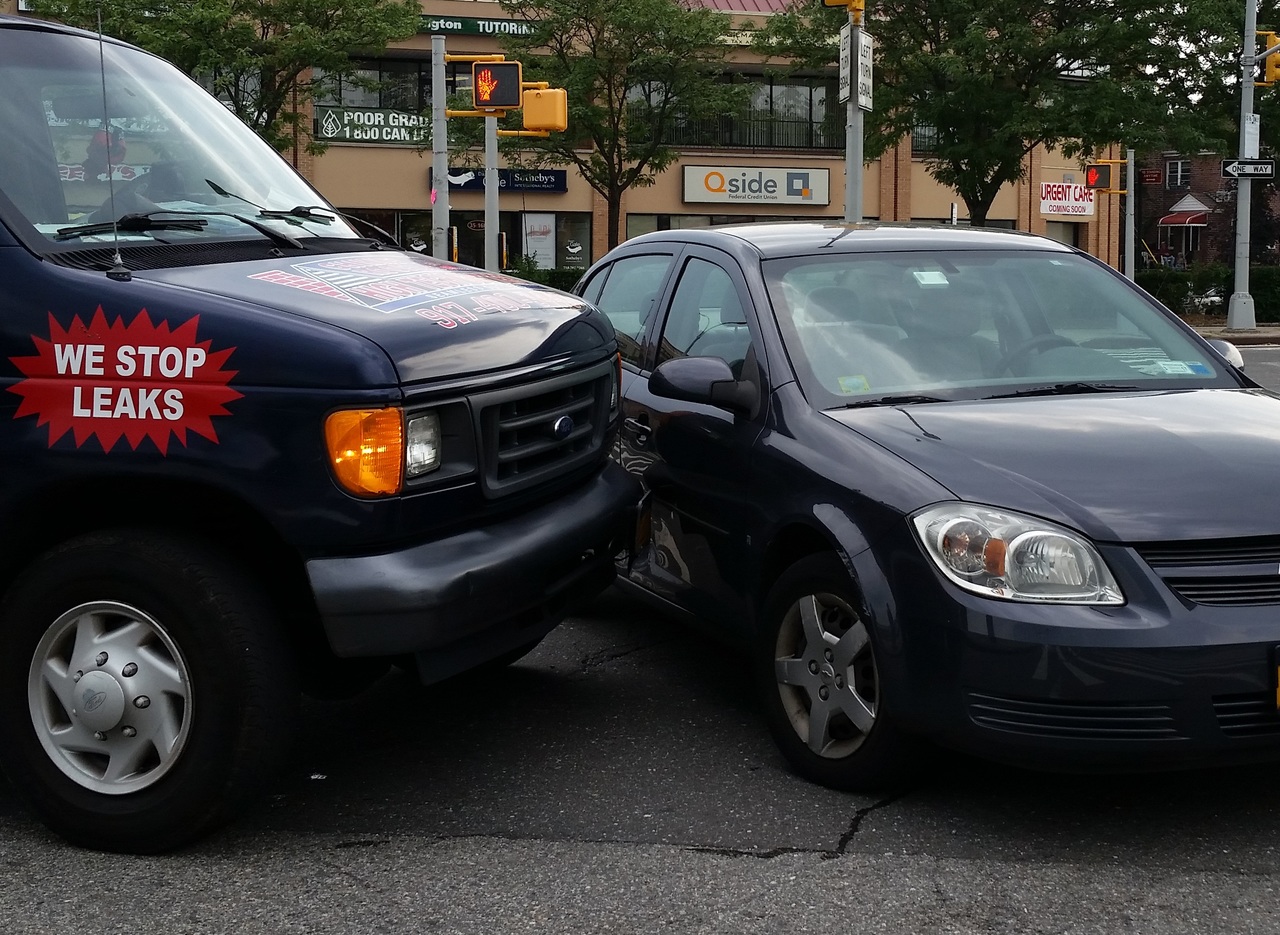
- The position of the vehicles: Take images from all four directions (north, south, east and west) and include all the affected vehicles, road markings, street names, traffic signage, road surface/condition, etc. Ensure that you include portions, if not the entire vehicle, so that your car’s placement can be viewed in relation to the accident. These images will make it easier to show how the vehicles came to a stop in the position they did, after the accident occurred.
- Position of damage on the vehicle: Many people tend to take pictures of the damage on their car which sadly, is not as relevant to accident investigators, as the position of the damage on the car. Don’t get it wrong – showing the damage is important but it is only part of the evidence required to help make your case. Rather, take images that show the damage in relation to the surrounding, undamaged area of the car. For instance, if another driver collided with yours from the left, take pictures of the entire left-hand side of the car, as well as a close-up of the damaged area.
- Road conditions / General environment: Focus on damage to the surroundings as a result of the accident. These could include fluid spills, tyre/skid markings, pieces that may have come off the accident-damaged vehicles, road markings, road signs (or the absence thereof), street lights, potholes, road works, mile markers and any other unique features. Remember to keep your car (portion of or whole) in the frame as a “reference” point.
- Documentation: It is important to take pictures of the documents belonging to all parties involved. These should include driver’s licenses, IDs, license disks and/or license plates, and vehicle branding. In addition, it is advisable to take pictures of any injuries you or others might have sustained, including medical reports of your check-up post the accident.
Remember to clean the lens of your phone camera so that the images are clear and the text on the licenses and car branding is easy to read; and that it is illegal to distribute images of other people without their consent. The pictures you take should only be used to aid your version of events.
NB: This article is a guide and does not represent any insurance, legal or accident codes of behavior.