Heels & Horsepower Magazine

The Art of Good Driving Posture: Avoiding Back Pain

Many drivers have over time, developed poor posture and thus suffer from back pain regardless of the structure of the seat.

Most modern cars have well-designed seats with lumbar support, ensuring that there is sufficient lower back support for drivers. However,  years of sitting incorrectly can lead to poor posture at the wheel, causing neck, shoulder and lower back pain over time.   Keep in mind that a strained or weakened spine can lead to other health challenges so it is important to develop good posture at the wheel.

Here are some simple ways you can take care of your back when sitting at the wheel:

  1. Don’t sit with your back rounded / hunchbacked.
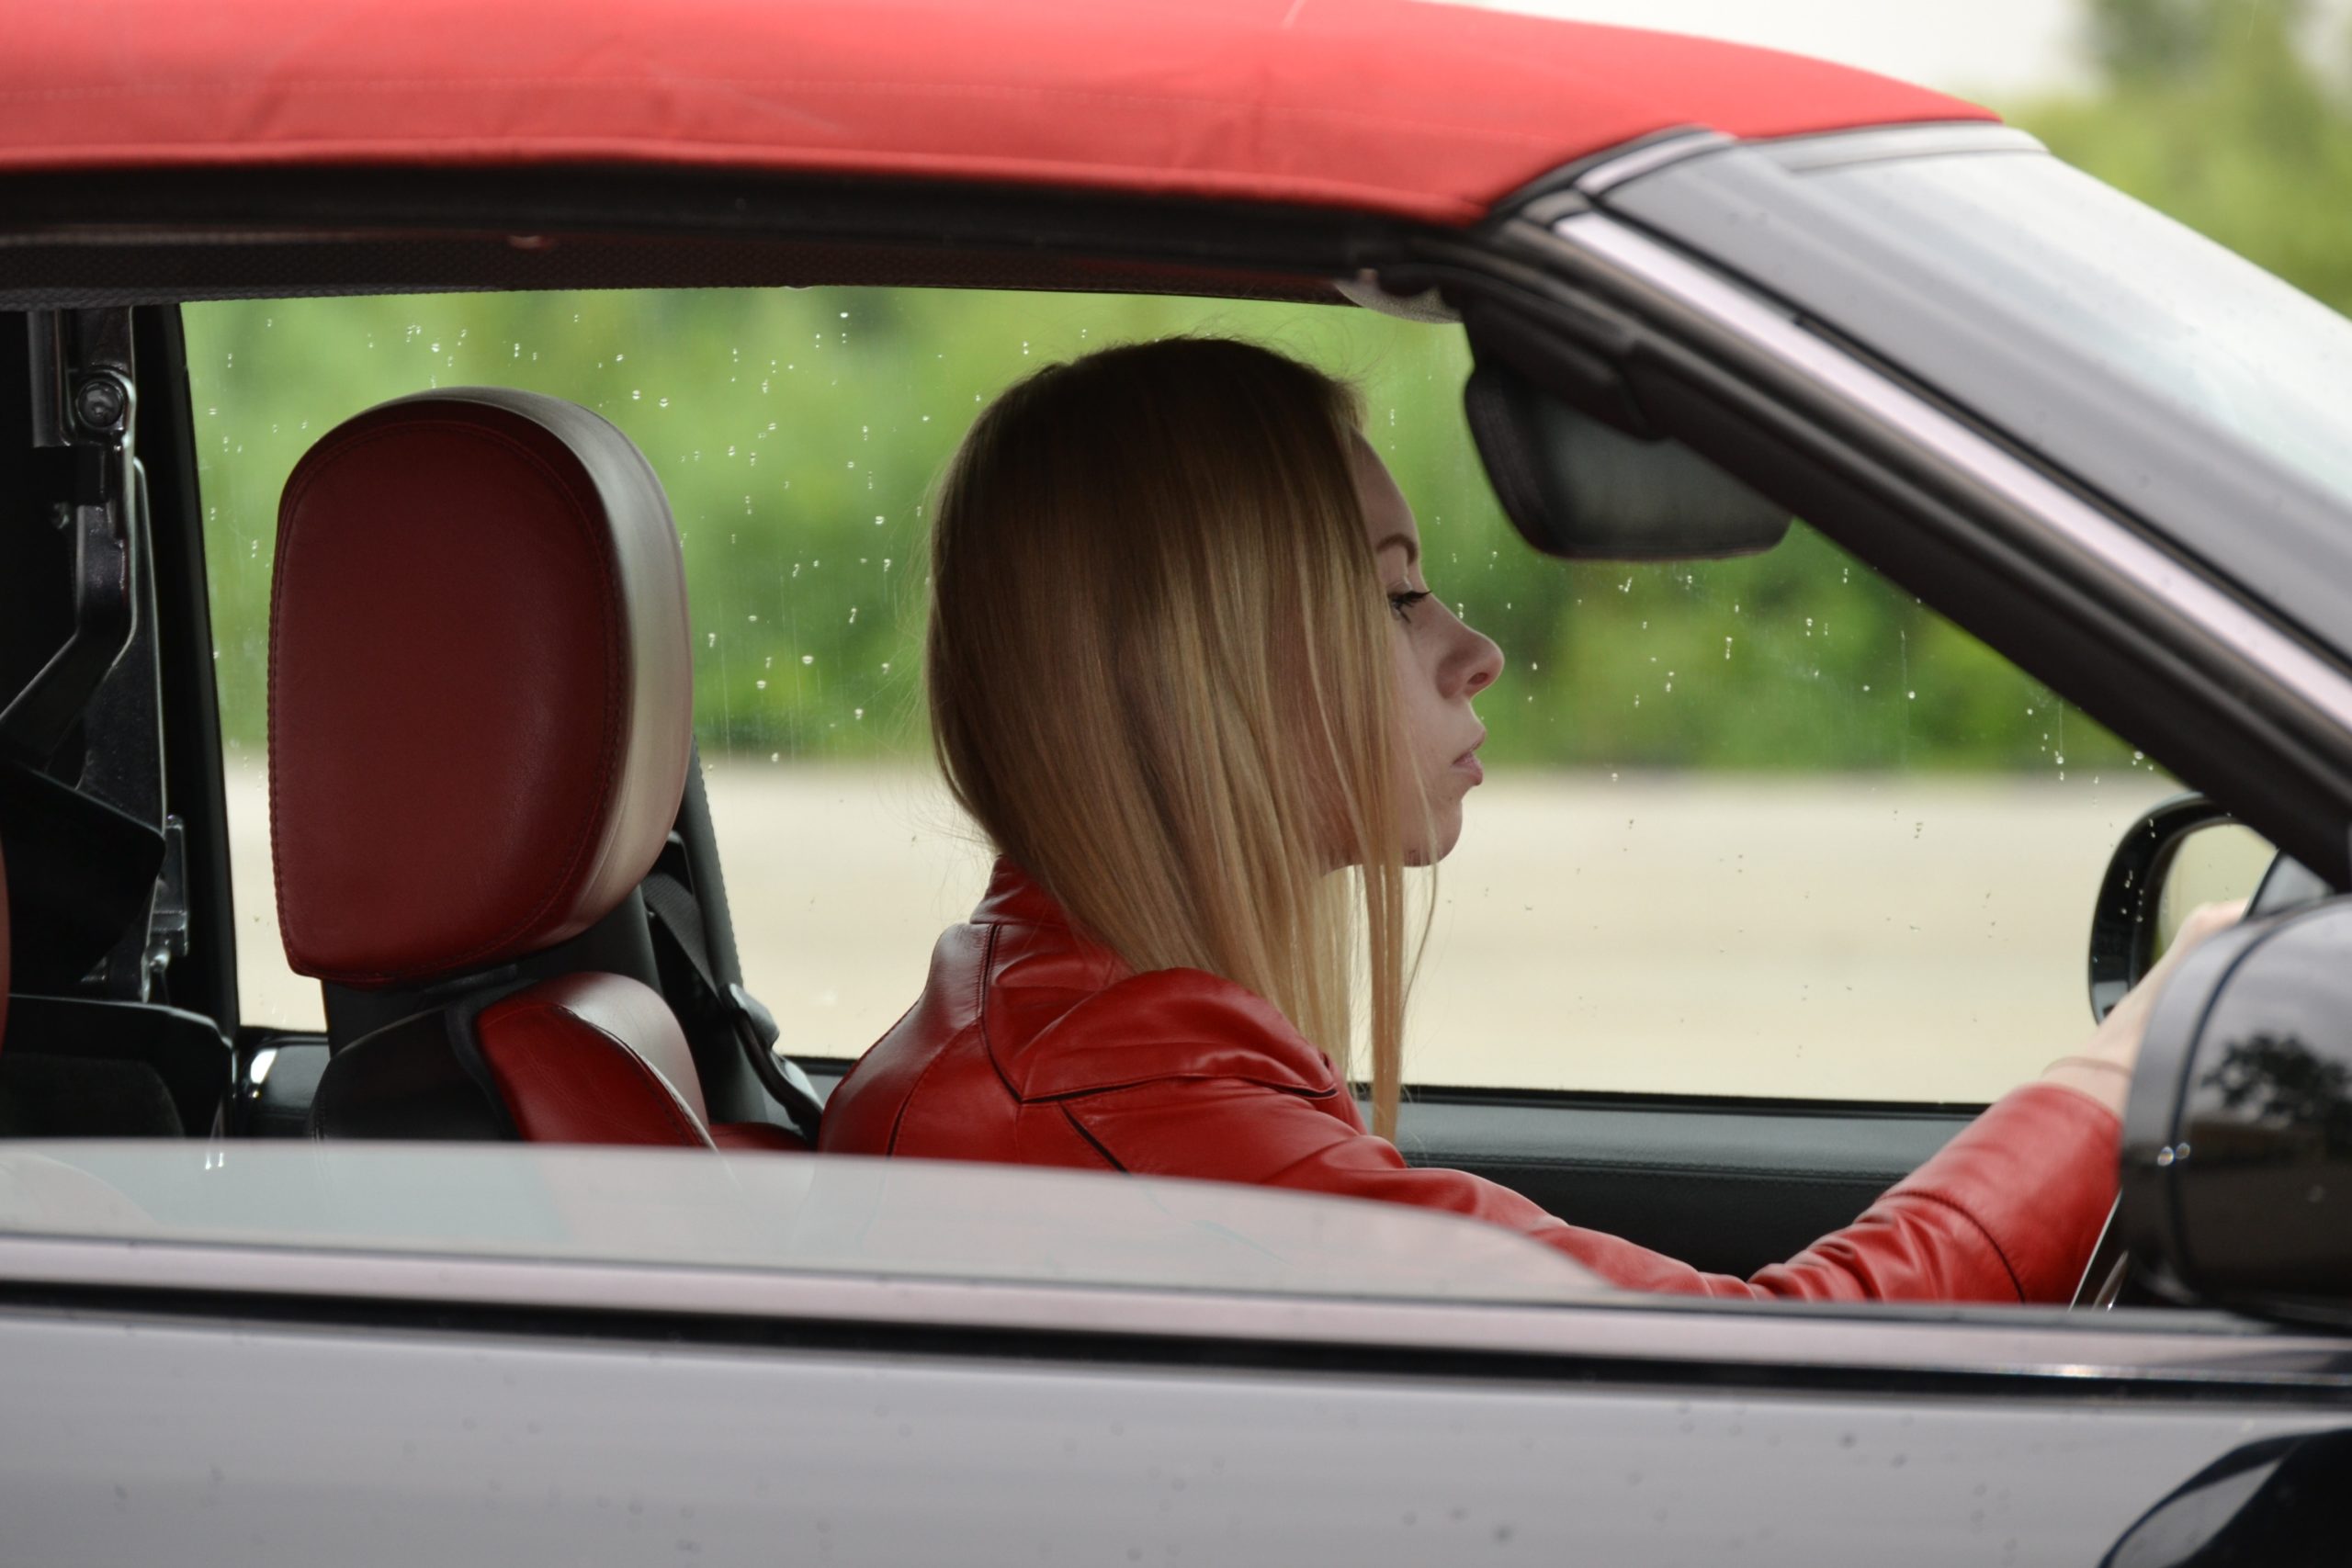
  2. Sit with your head well supported by the headrest.
  3. Keep your shoulders level and lightly pressed against the top of the seat.
  4. Position your seat such that your knees are slightly bent and your feet easily reach the pedals.
  5. Relax your grip on the steering wheel and avoid leaning towards the steering wheel.

Whenever you are in traffic, take the opportunity to do some gentle exercises to keep your neck and shoulder muscles from getting stiff.

  1. Gently bend your head to one side, pressing your ear down towards the shoulder.
  2. Keep your chin tucked in as you do this to avoid harming the joints in your neck and upper back.
  3. Do the exercise slowly, holding the position for a couple of seconds before repeating on the other side.

Remember to only do this exercise when standing still in traffic.  Keep your attention on the road and on your surroundings as smash and grab incidents can occur seemingly out-of-the-blue.  This exercise can also be done at your desk as well as when standing in a queue at say, the Post Office!
 

6 Essential Rules for Jogging Safely

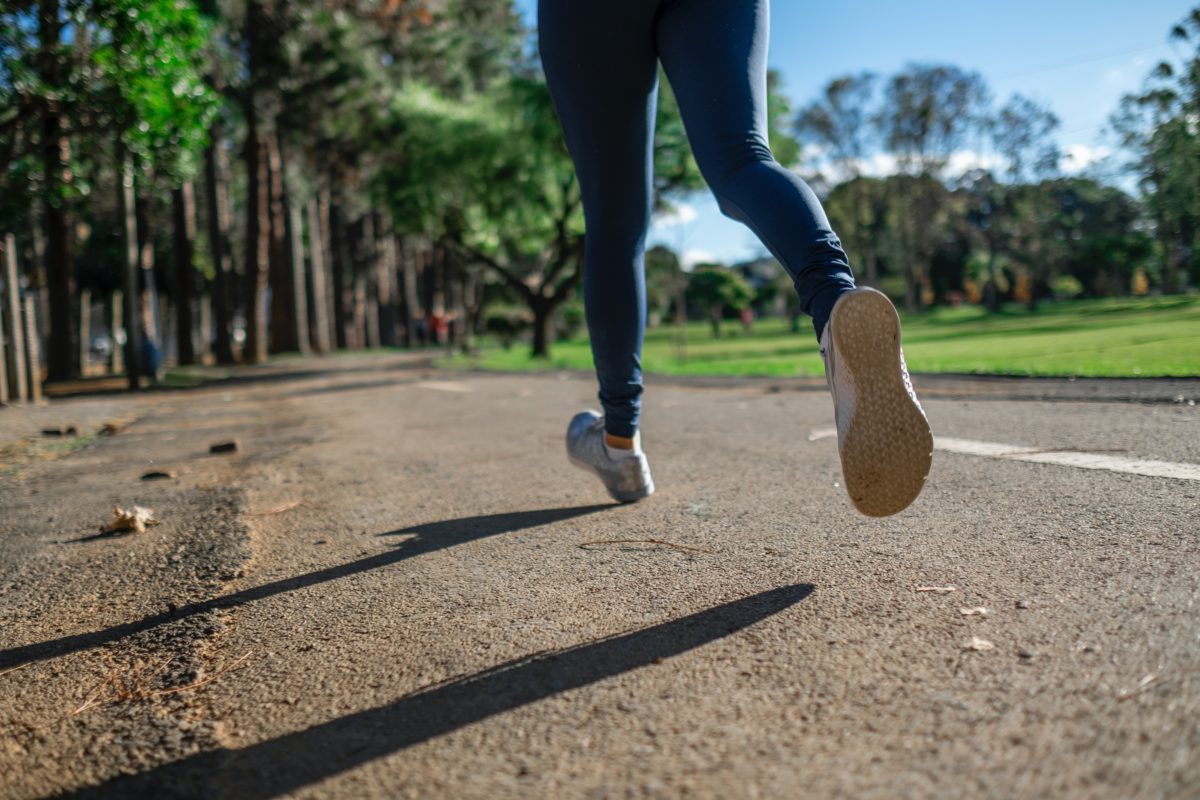
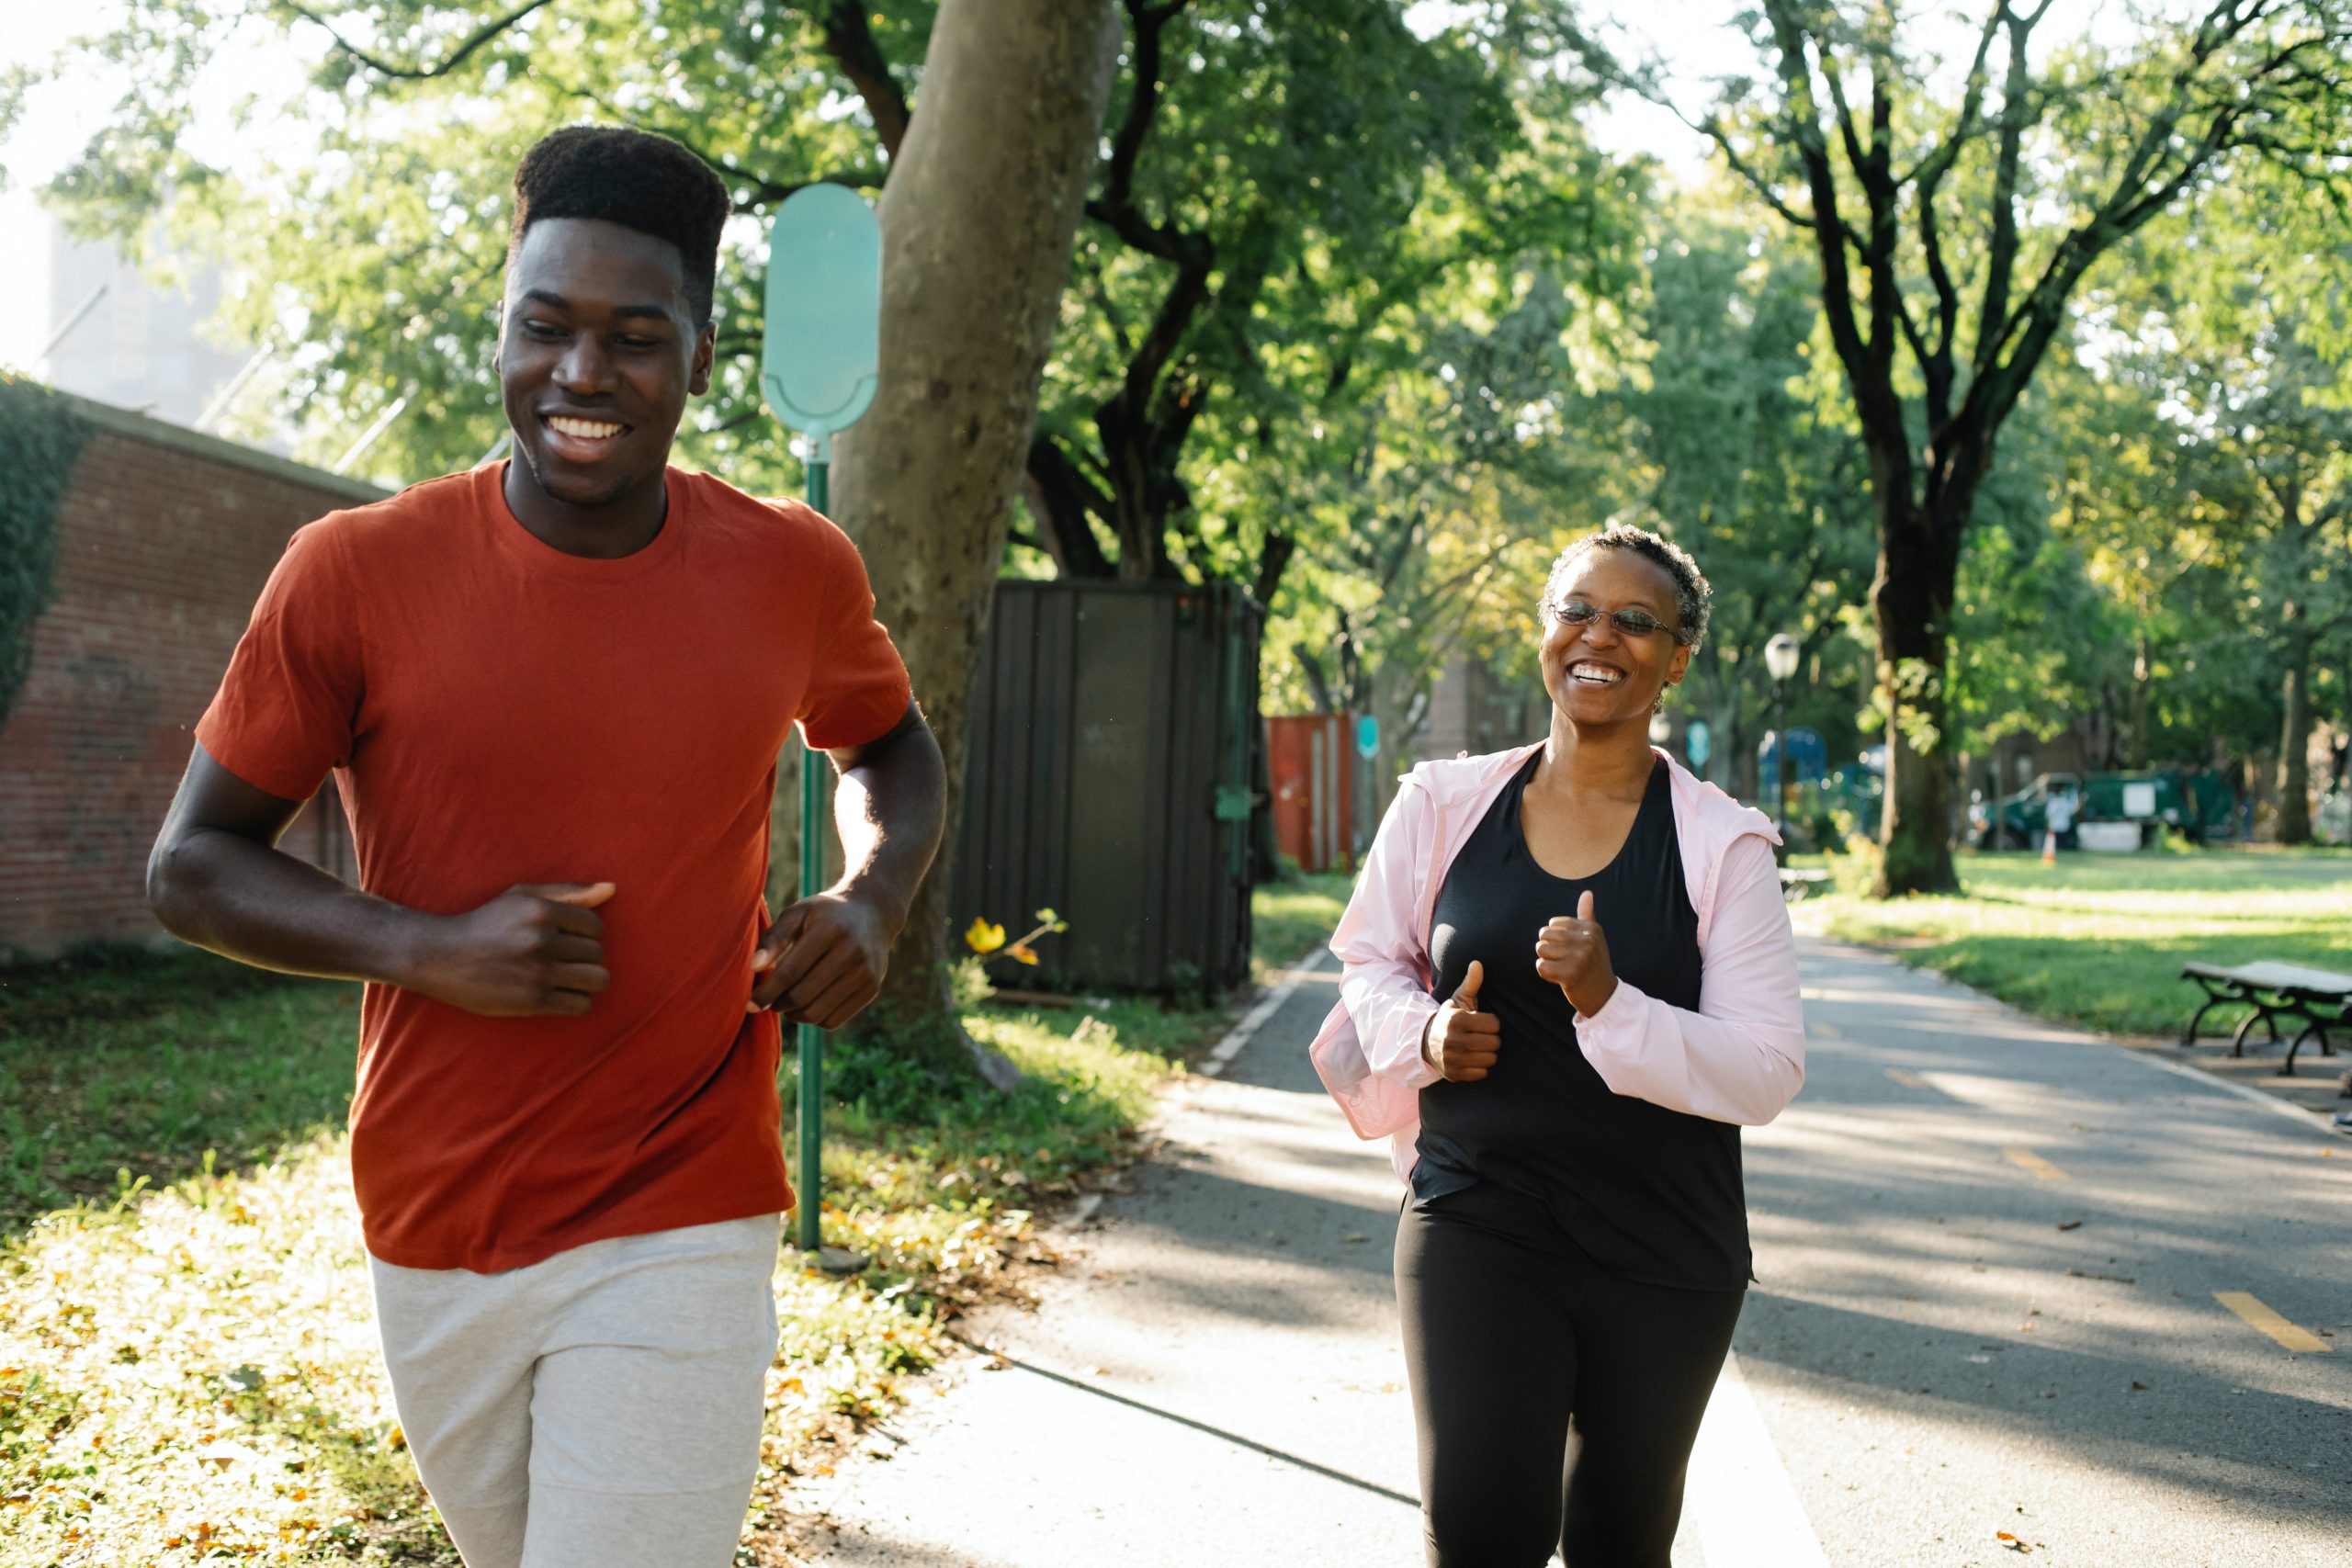
Jogging is one of the most common and popular forms of exercise among South Africans; and as the months get warmer, more and more people can be found running along the road.

Sadly, there are many challenges runners face daily, mainly distracted drivers, poor visibility, blind spots, and motorists driving under the influence of drugs and alcohol.

Although motorists are required to yield to joggers (pedestrians and cyclists), some drivers seem to be stubbornly unwilling to share the road with runners.  As a result, the onus falls more upon joggers to ensure their safety, than it does on other road users.


Here are a few tips to keep runners safe:

  1. Do not wear both earpieces.  Your ability to hear what is happening around you is vital and could save your life by helping you to identify and avoid danger before it is upon you.  Rather, wear one earpiece and keep the volume high enough to hear what is happening around you while enjoying your playlist.
  2. Face oncoming traffic.  While cyclists should ride with traffic, joggers and walkers should go against traffic so they can see vehicles approaching them. By facing traffic, you increase your ability to react quickly should you feel endangered by an inattentive driver.
  3. Stay alert.  It’s ok to enjoy your morning or evening run, but do not, under any circumstances, zone out.  The more aware you are, the less vulnerable you will be.  Here are some examples:
    1. Wave at drivers so they can see you
    2. Obey road rules
    3. When possible, run with a partner, in a group, or with your dog/s.
    4. Look left, right and left again before crossing streets
    5. Approach bends, blind curves, gateways and other entrances with caution as motorists are sometimes more on the lookout for other drivers and not runners.
  4. Wear reflective clothing.  Although the sun rises early in summer and a little late in the evenings, it is advisable to be as visible as possible at all times.
  5. Stay off the road.  Whenever possible, run along the side of the road (shoulders and footpaths), and not on the road itself. When running with others, run in a single file as often as possible.  Running 2 or three abreast is only safe when running on deserted roads but be aware that traffic conditions can change quickly, so pre-arrange how to get into single file when a car approaches.

One of the most important rules of running on the road is that motor cars rule. Yes, joggers by law, have the right of way but when it comes to real-life situations where it’s car vs human beings, cars always win.  Even when you have the right of way, give way to cars and trucks.  Keep your eyes on the road, step aside whenever necessary and live to jog another day.

5 types of pictures you MUST take at the scene of an accident

Accidents can happen to anyone at any time, but reports of how one occurred, can differ considerably. 

In addition to following the normal process of collecting information, taking pictures also comes in handy; after all, pictures say a thousand words.  That said, it is important to keep in mind that the purpose of taking pictures at an accident site is for photographic evidence and notto show off the gory nature of the accident.

Here are a few tips on the types of pictures you should ideally take at the scene of an accident.

  1. Set the stage:  Before you begin clicking away at the accident damaged cars, you need to “set the stage” of the accident. This allows you to “bring the accident site to the insurer” for the obvious reason that those people were not present when the accident took place. Taking pictures which allow them to be present at the scene allows them to get a better understanding of what happened moments before the collision.
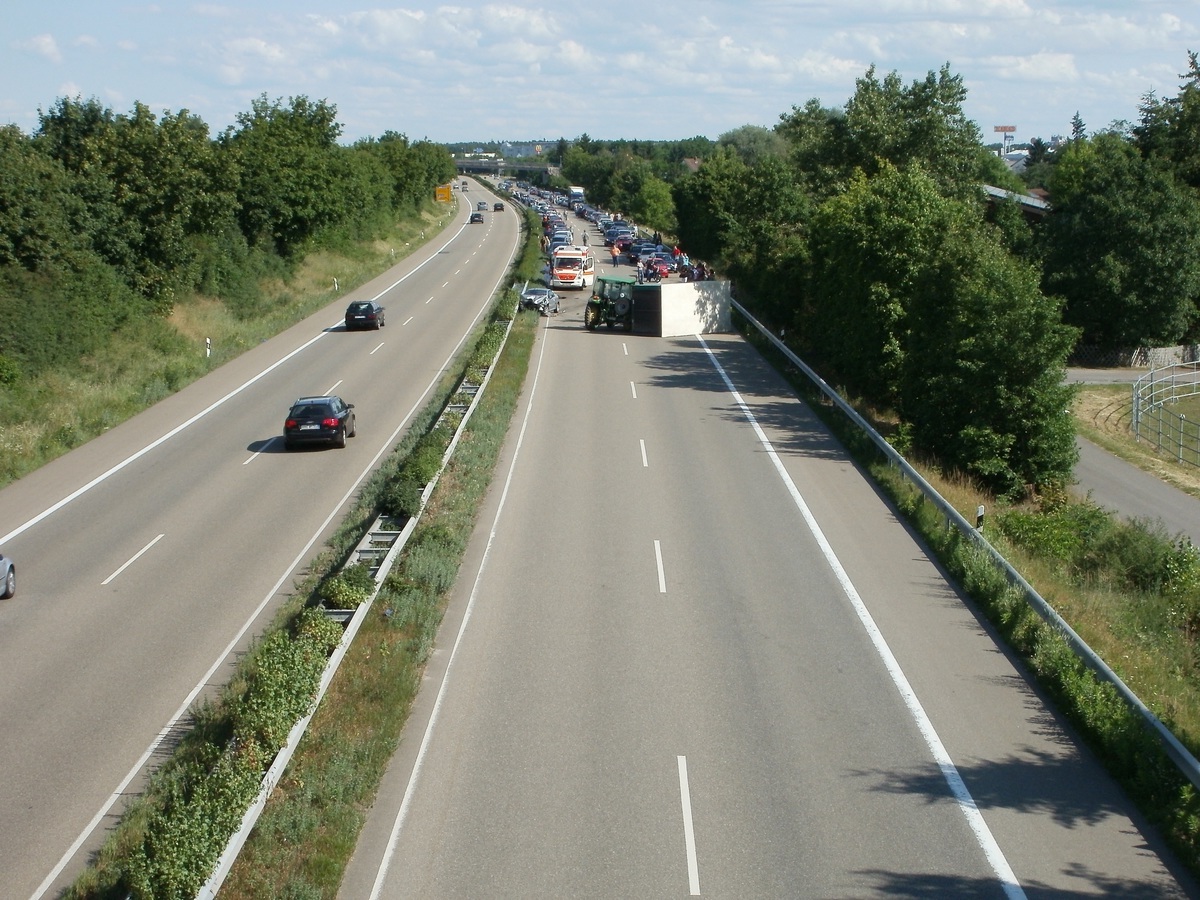
  2. The position of the vehicles:  Take images from all four directions (north, south, east and west) and include all the affected vehicles, road markings, street names, traffic signage, road surface/condition, etc.  Ensure that you include portions, if not the entire vehicle, so that your car’s placement can be viewed in relation to the accident.  These images will make it easier to show how the vehicles came to a stop in the position they did, after the accident occurred.
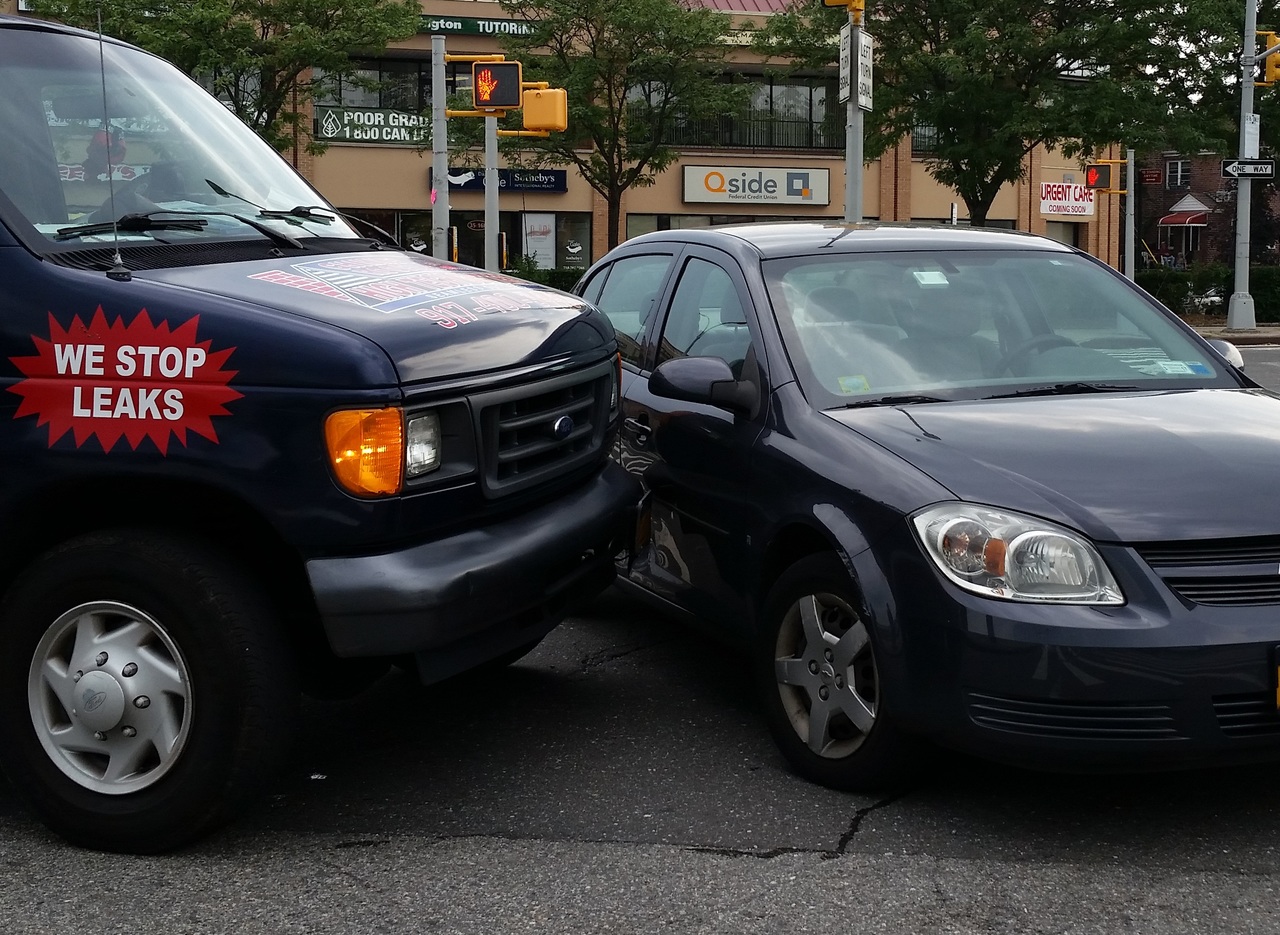
  3. Position of damage on the vehicle:  Many people tend to take pictures of the damage on their car which sadly, is not as relevant to accident investigators, as the position of the damage on the car.  Don’t get it wrong –  showing the damage is important but it is only part of the evidence required to help make your case.  Rather, take images that show the damage in relation to the surrounding, undamaged area of the car.  For instance, if another driver collided with yours from the left, take pictures of the entire left-hand side of the car, as well as a close-up of the damaged area.
  4. Road conditions / General environment:  Focus on damage to the surroundings as a result of the accident. These could include fluid spills, tyre/skid markings, pieces that may have come off the accident-damaged vehicles, road markings, road signs (or the absence thereof), street lights, potholes, road works, mile markers and any other unique features.  Remember to keep your car (portion of or whole) in the frame as a “reference” point.
  5. Documentation: It is important to take pictures of the documents belonging to all parties involved.  These should include driver’s licenses, IDs, license disks and/or license plates, and vehicle branding.  In addition, it is advisable to take pictures of any injuries you or others might have sustained, including medical reports of your check-up post the accident.

Remember to clean the lens of your phone camera so that the images are clear and the text on the licenses and car branding is easy to read; and that it is illegal to distribute images of other people without their consent.  The pictures you take should only be used to aid your version of events.

NB: This article is a guide and does not represent any insurance, legal or accident codes of behavior.